
It has been a CrAzY year, but with the craziness there has been some incredible new and happy experiences that I wouldn’t trade for the world.
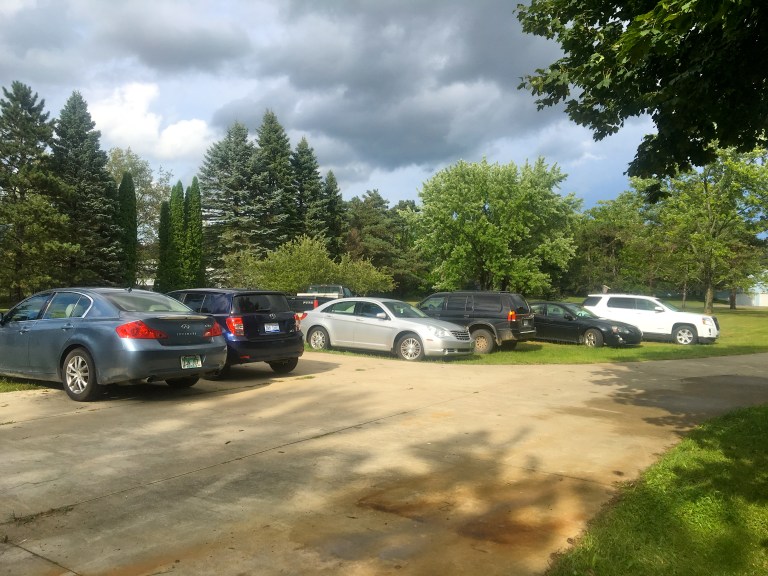
Recently, my boyfriend and I purchased our first home. The process has been a complete whirlwind, but we wouldn’t have it any other way. Our two bed, two bath, ranch on just over two acres could be considered move-in ready (new bathrooms, carpet, paint, finished basement) but we decided to tackle a few projects to make it our own. As you can see from this picture, we came to work!

As a form of relaxation, and for sake of sanity, I will be tracking our progress (no matter how big or small). Between the constant working, overflow of help, late nights, laughs and set backs, this new chapter has proven to be the most exiting, challenging, and rewarding that life has yet to offer. And we’re just getting started. Sit back and enjoy the ride!
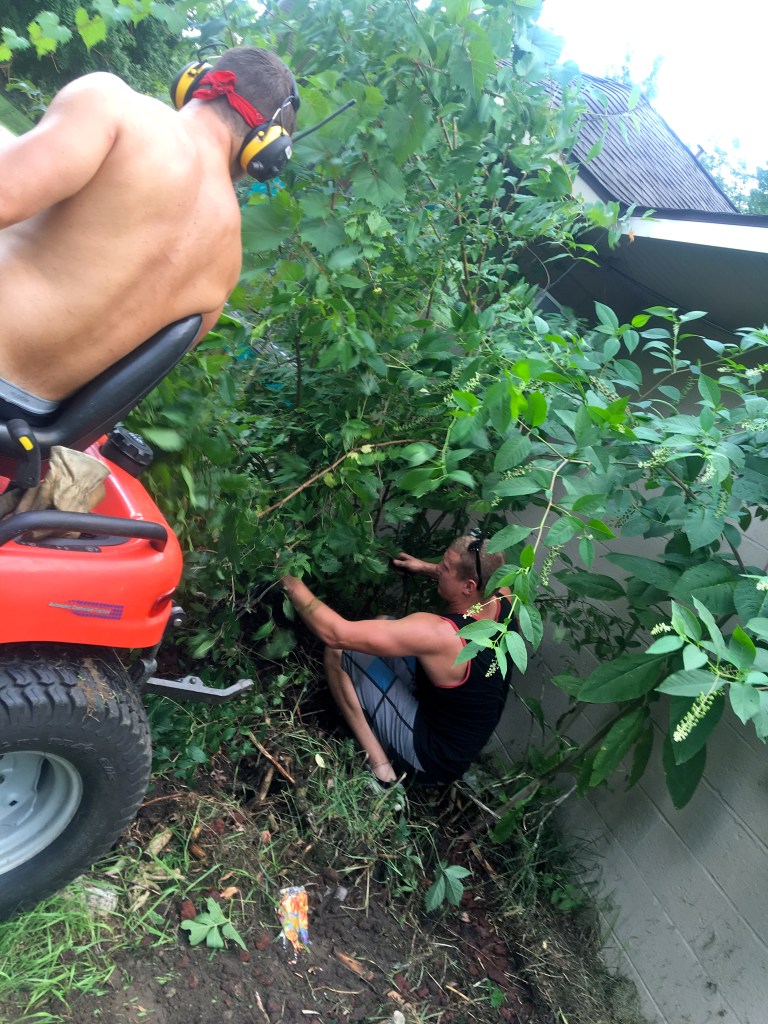
Within the first weekend of getting keys, we got so much more done than we could have imagined (all thanks to our amazing family).
So many came by to help. We tore out carpet, scrubbed walls, cleaned appliances, vacuumed, washed, pulled nails and staples from the bedroom wood floors, trimmed the crazy amount of trees, PULLED trees and bushes, mowed, and so much more.
 Our first big gathering- all work and a some play.
 Before tree trimming in the front and back yard. I apologize in advance for my lack of before photos, I was unable to snap pictures before our hard workers (aka awesome family) got started.
 During the clean up of the big pine tree. All those dots on the trunk are branches that were cut. There were weeds and even vines growing all up the tree to where it is trimmed.
 After. Amazing what trimming and weeding can do. Can’t wait to decorate this giant for Christmas!
 One of the “before” pictures of the overgrown weeds along the front of the house.
 After. Notice on the right side- that whole corner was covered with overgrown weeds.
 No before picture for the back yard. This is from the process of trimming these gorgeous trees. Imagine all the branches on the ground still on the trees and basically touching the ground around the trees. Lets just say we have PLENTY of bonfire materials…
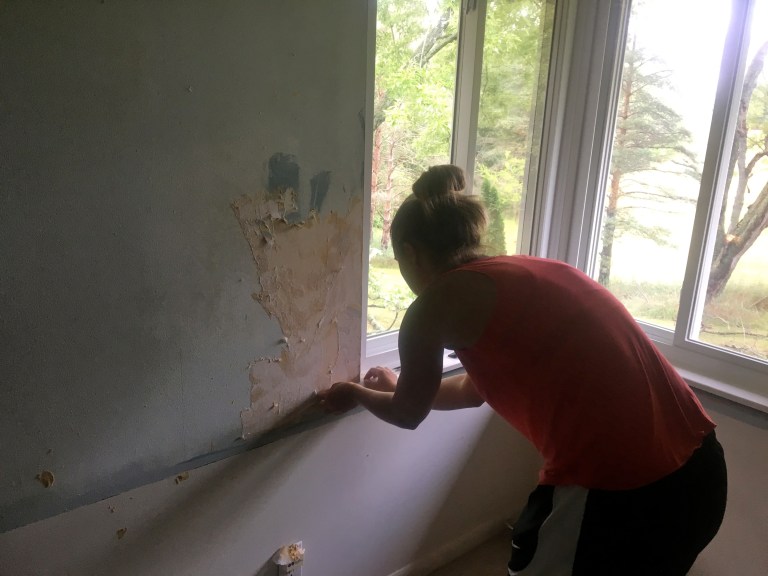 At the same time the yard was being cleaned up, the inside was getting an overhaul as well. Not only did every single wall, cupboard, floor, light fixture, switch, door, appliance, etc. get cleaned; we also removed the wall paper from the spare bedroom.
Thank god the house was built in 1950, because we heard some horror stories about removing wallpaper (even from a friendly stranger at Home Depot). We got very lucky that the wallpaper came off the way it did. After recommendations, we bought a metal wallpaper scraper from Home Depot and used a hot hot water drenched rag to soak the paper before scraping. Per our friendly stranger in Home Depot, this was the best method (and proved to be). We actually had a solution in our cart that claimed to help remove wall paper and we ended up putting it back on the shelf to save money and test out the hot water and scrape method- which ended up being very successful. For future reference- just get a bucket of the hottest water you can handle, soak a towel or rag and put directly on the wallpaper, drenching, before using the metal wall paper scraper.
After this, I took an electric sander to the existing wallpaper areas in order to make sure we got all of the old adhesive off. Also, when it comes time to paint, use an OIL based primer on the areas where the wallpaper was- that way the paint will stick even if you accidentally left some adhesive behind.
*Make sure to always wear a mask when sanding any house older than the 70s because of lead paint! I also read that the lead paint can be absorbed into your skin if you are sweating enough- something I wish I knew while using the electric sander on the walls during the middle of summer…
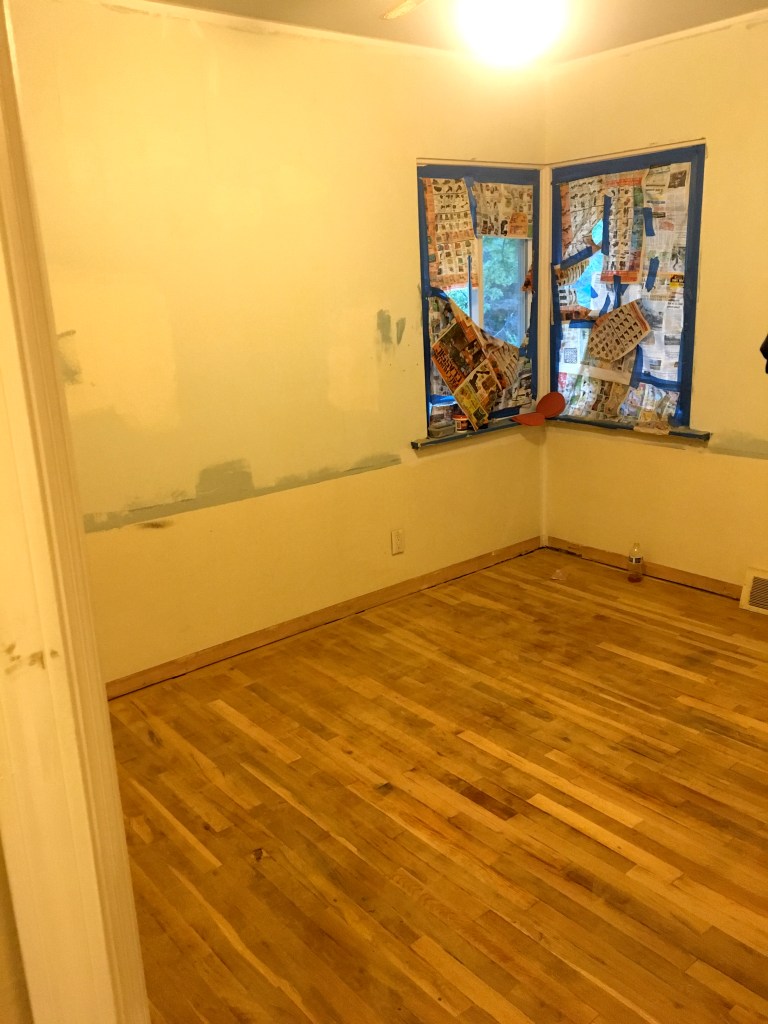
The top half of the wall (before paint) after removing wallpaper and sanding the walls and floors.

The original garage doors were manual, and of course the lovely color of the trim.

Had a new (used) automatic garage door installed and all of a sudden the teal doesn’t look so bad! I never thought I could love a garage door so much! It’s the simple things, right?!


We quickly realized that the bedrooms had wood floor hidden under the hideous, 1980s, carpets, so we couldn’t help but choose to tackle the project. Unfortunately, in the master bedroom, we discovered some pretty intense water damage that turned out to be quite the pain in the a*$. That being said, we rented the sanders from Home Depot and went wild for a weekend: sanding, bleaching the dark spots after sanding, sanding more and bleaching more (probably about 5+ different times doing both), and finally decided to smooth the wood and hope for the best when staining. Anyone who has sanded 1950s, water damaged, floors will agree it is not for the faint of heart.


Although I *thought* I was giving up on the dark water spots (I didn’t want to spend the rest of my life bleaching the raw wood), we ended up being STUNNED by the results later on.


We tested out our stain choices in the closet- so we didn’t have to re-sand and rent the equipment. And we joke that we will have a completely original closet floor. 🙂 We ultimately decided on Minwax “Golden Oak” (the floors are oak) with a light coat of Minwax “Espresso” on top. The right photo is the golden oak coat. Although we loved this, we wanted to bring it to a more modern tone and wanted something more unique (so we added the Espresso on top for a darker tone but still a hint of gold so as not to make the floors too dark).
Thank you for taking the time to see our progress and stay tuned for future updates, expect them very soon!
With love,
Those First Time Homeowners


Love your play-by-plays and look forward to more! You guys are doing an awesome job so far!
LikeLike
So excited to see what a wonderful home you guys will make that house!!!
LikeLike